I have wanted a double boiler for years. My mom had one when I was growing up and she used it to melt cheese and chocolate and other goodies I don’t even remember.
I’ve seen them in stores, but their either too small — or come with a bunch of other pans I already have.
But after researching the cake ball making process, I realized I already have a double boiler.
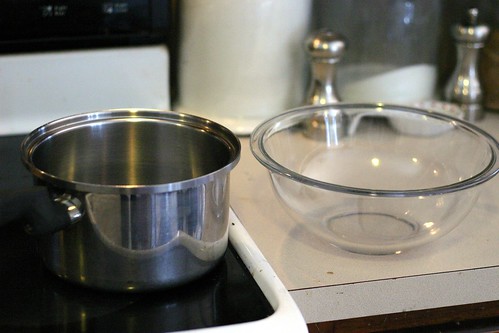
You just take a sauce pan like my husbands potato pan that you see above (he uses it to make his world famous mashed potatos), and a glass mixing bowl that will fit inside the sauce pan without touching the bottom. You’ll also want to make sure the sides meet up snugly to keep water out of the bowl, since water will ruin the candy coating.
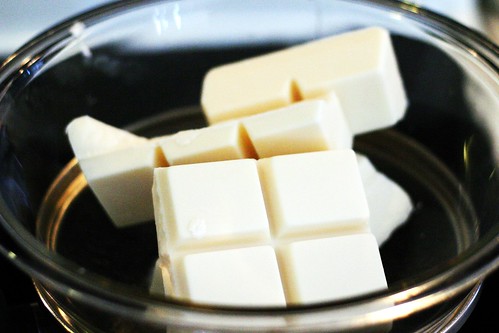
That said, I pulled out my handy-dandy double boiler and filled up the pan about half way with water and put it on the stove top to boil. Once the water started bubbling, I put the bowl on top and added the almond bark to melt.
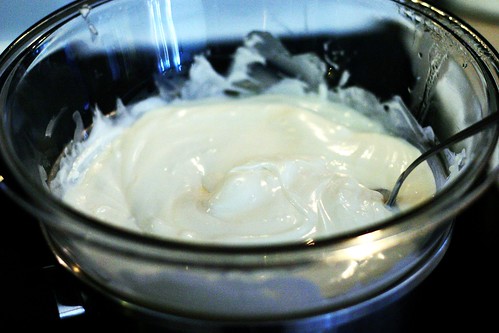
I just let the water boil and stirred the candy until it looked like this:
Warning: Before we go any further, I must warn you. I started out using almond bark to dip my red velvet cake balls. This was a bad idea. The almond bark was gloppy, messy and ended up looking like crud. Like this. So don’t use almond bark. Instead, use the candy coating wafers or other coating that is made for dipping. It works out much better.
After I realized the almond bark wasn’t working, I added several candy coating wafers and it started behaving much better, but was too thick. When the candy is completely melted, you’ll notice that if you pick up a spoonful and pour it back into the bowl, it kind of glops off the spoon. That means the coating is too think. So what you’ll need to do is add about a tablespoon of shortening. That will thin the coating so it will work better.
Once the coating is melted and pours smoothly off the spoon, it’s time to pull one of your wax paper lined cookie sheets full of cake balls out of the freezer.
Note: The recipes I followed all suggested that I freeze the balls for at least 6 hours. I actually started the cake ball process on Monday and put them in the freezer. But with all the snow, kids running around the house cooped up and other random craziness, I wasn’t able to start dipping them until today.
How to dip the cake balls
I read in several places that the trick to dipping the cake balls is to tap the spoon. You drop a ball in the coating and use a spoon to pour more coating on top. Then scoop up the ball and tap the spoon on the side of the bowl to remove the extra coating.
I had a problem with this the first time I made cake balls.
See, I’m a night owl,so I dipped them around 3 a.m. Since my kitchen is near a couple of bedrooms in our house, I really didn’t want to spend an hour tapping a spoon on the side of a glass bowl.
Instead, I used a small, quick side-to-side shaking motion to shed the extra coating. I also used the side of a second spoon in my other hand to scrape the bottom of the cake ball spoon and made sure to leave a pool of coating in the spoon behind the cake ball (which I held on the end of the spoon) to pour down the side of the ball as I gently tipped it back onto the cookie sheet. This helped fill in any holes in the coating left by the spoon.
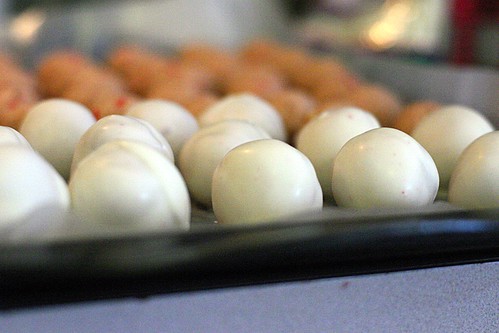
Here are the pretty cake balls:
Would love to hear your cake ball stories!


Wow – the second batch is beautiful.
Thank you! I can’t wait to make some more, using the candy coating. I found some more today in the baking aisle of Wal-Mart, on the shelf right above the almond bark.